


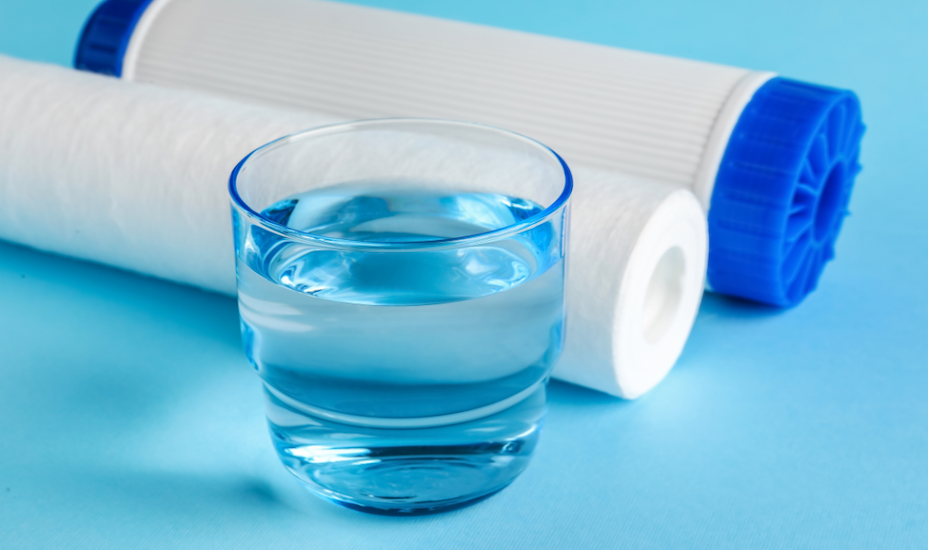
Performing cleaning on the water dispenser is essential for maintaining a healthy water supply. Minimizing dirt and bacteria contamination is crucial to ensure safe drinking water. In this case, regular maintenance is still more cost-effective in the long run, as it reduces the frequency of repair calls and prolongs the lifespan of the dispenser. This guide will give you the basics to keep your water dispenser clean and running. So you always have water to drink and your water dispenser.
Why Regular Water Dispenser Maintenance is Important
You should maintain your water dispenser for many reasons, from health benefits to performance and longevity. Here’s why it should be a priority:
Health Benefits
- Clean, Safe Drinking Water: Cleaning helps keep the water tank free from bacteria, mold, or other resultant particles. Thus, the water from the purifier is safe for drinking. Correct and proper disposal also helps maintain cleanliness in your home and safety for yourself and your family.
- Health Risks: Water dispensers that are left open or not properly cleaned can buddle with countless kinds of unhealthy bacteria. Water sanitation reduces the cases of waterborne diseases in families, communities, schools, and workplaces. It is as simple as this: To enjoy good health, your dispenser has to be free from germs.
Performance
- Optimal Dispenser Performance: Periodic cavitation and overheating will also cause mineral deposits, algae, and sediment to form in the dispenser’s components. This prevents blockage and ensures the ease of water passage necessary for the cooling or heating system to function effectively. This way, you can be sure your dispenser is serving you to the best of its abilities and that you always have clean water on demand.
- Unpleasant Tastes and Odours: If a dispenser is left without use for an extended period, it may develop an undesirable taste or smell from deposits left behind. Maintenance ensures that water stays clean, so every time you drink water, it is as clean as possible, meaning there are no funny tastes or smells in the water.
Longevity
- Extending the Life of Your Water Dispenser: Proper care and maintenance prevent premature wear and tear. Cleaning and descaling reduce the load on internal components, so your dispenser will last longer. Invest a little time now and save money by delaying the need for a replacement.
Preparation Before Cleaning
Proper preparation is key to a safe and effective cleaning process for your water dispenser. Follow these steps:
Safety First
Begin by unplugging the water dispenser from the power outlet. Safety first so make sure the power is completely off or disconnected. This will prevent electrical shock or damage to the machine during cleaning.
Water Supply
Turn off the dispenser’s water supply. This will prevent any water from leaking or spilling during the clean. If your dispenser has a water bottle, remove it and set it aside.
10 Easy Steps to Clean Your Water Dispenser
Maintaining a clean water dispenser is crucial for ensuring your water is safe and refreshing. Regular cleaning prevents the buildup of harmful bacteria and keeps the dispenser functioning efficiently. Follow these ten detailed steps to clean your water dispenser:
1. Drain the System
First, drain out any remaining water in the dispenser. Find the drain plug or button at the back or bottom of the unit and empty the reservoir. This step will give you a clean slate to start with and prevent mixing old and new water.
2. Clean the Exterior
Use a mild detergent solution and a soft cloth or sponge to wipe down the outside surfaces. Pay attention to high touch areas like the dispensing lever and buttons which can hold dirt and fingerprints. Cleaning the outside keeps the appliance looking good and prevents the spread of germs.
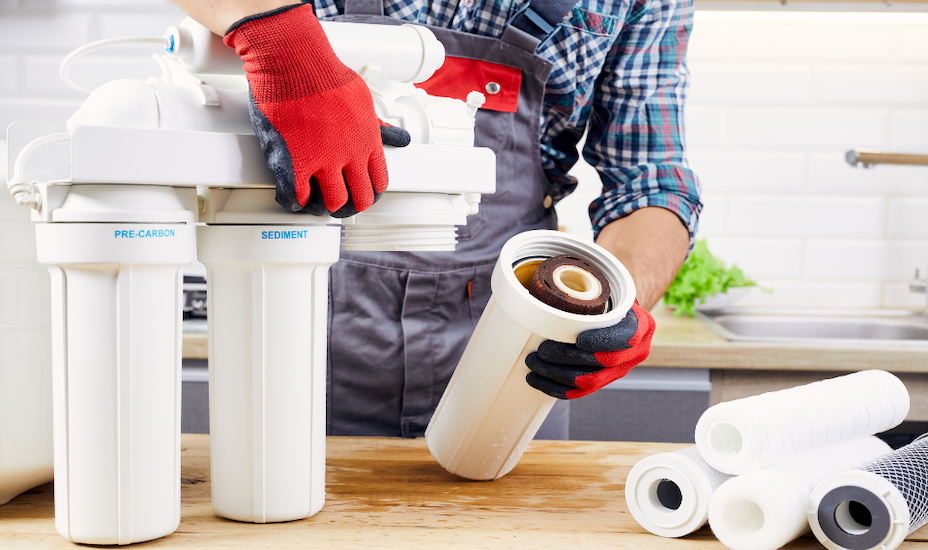
3. Disassemble Removable Parts
Find and remove any removable parts like the drip tray, nozzle and other detachable parts. Check your user manual if you need help with how to do this. Disassembling the dispenser allows for a more detailed cleaning of each part.
4. Soak and Clean Removable Parts
Put the removable parts in a basin filled with warm water and mild dish soap. Let them soak for a few minutes to loosen any dirt or debris. Use a soft brush or sponge to gently scrub each part making sure all surfaces are clean. Rinse the parts thoroughly with clean water and let them dry completely.
5. Clean the Interior System
- Prepare the Cleaning Solution: Mix warm water with a few drops of dish soap to make a gentle cleaning solution.
- Clean Internal Components: Use the solution to clean internal components, including water lines and reservoirs. A small brush or cloth can help get into all areas. Pay attention to areas where water may stagnate, as these are prone to buildup.
- Filter Maintenance: If your dispenser has a filter, follow the manufacturer’s instructions to replace or clean it. A clean filter is important for water quality.
6. Rinse Thoroughly
Flush the system with clean water several times to remove all soap and debris. This step is important to prevent the water from tasting soapy and prepare the dispenser.
7. Sanitize the Dispenser
Mix one tablespoon of bleach with one gallon of water. Pour this solution into the reservoir and let it sit for a few minutes to kill any remaining bacteria. After sanitizing, rinse the dispenser with clean water to remove all bleach.
8. Reassemble the Dispenser
Assemble the dispenser once all parts are clean and dry. Ensure all components, including the drip tray and nozzle, are in place. Proper assembly is important to prevent leaks and for the dispenser to work properly.
9. Turn On the Water Supply
Turn on the water to get water flowing to the dispenser. Check all connections to see if there are any leaks. If your dispenser uses a water bottle replace it with a new one and make sure it’s seated properly.
10. Plug in the Dispenser
Replug the dispenser into the power source. Turn it on and let it run for a few minutes to make sure everything is working. Dispense a few cups of water to test it.
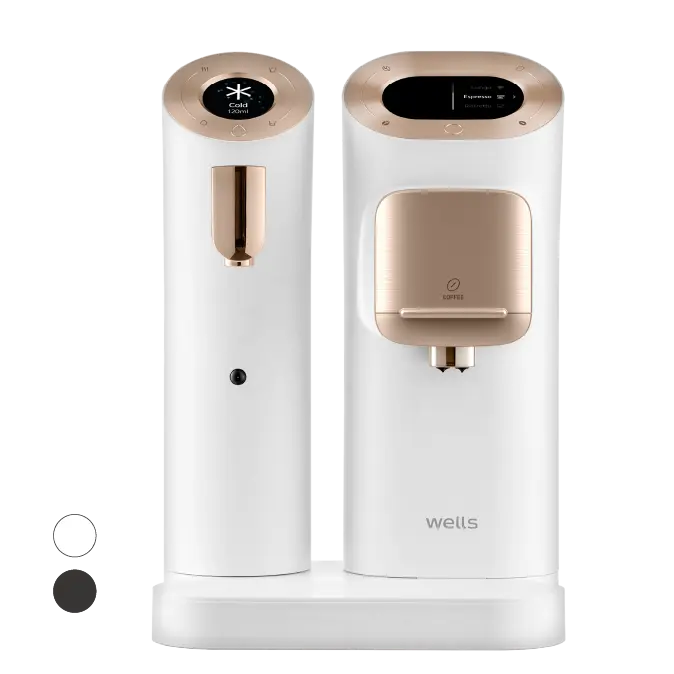
Why Choose Wells The One for Effortless Water Dispenser Maintenance
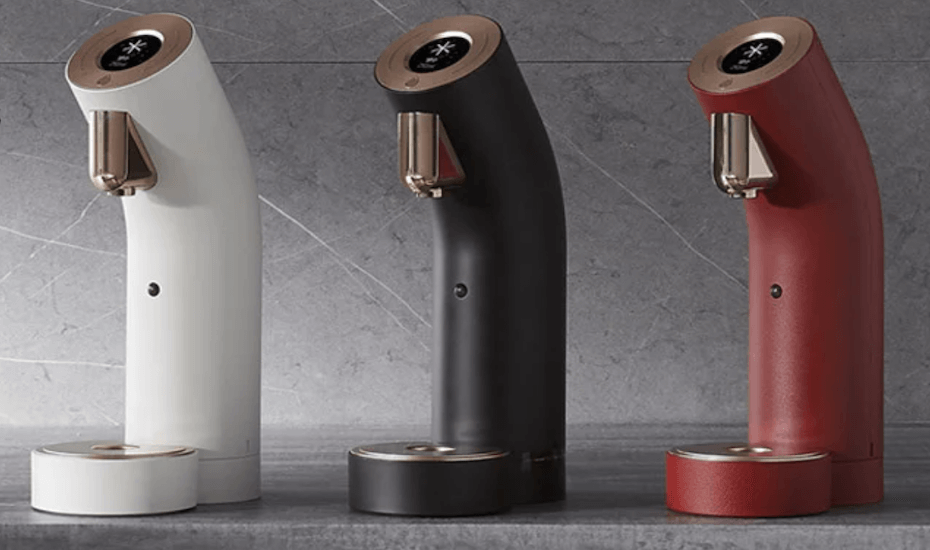
Maintaining a water dispenser can be time-consuming, but with Wells The One, you can enjoy clean and safe water without the hassle of frequent cleaning. Here’s why Wells The One stands out and why it’s the perfect choice for those looking for a low-maintenance yet highly efficient water dispenser:
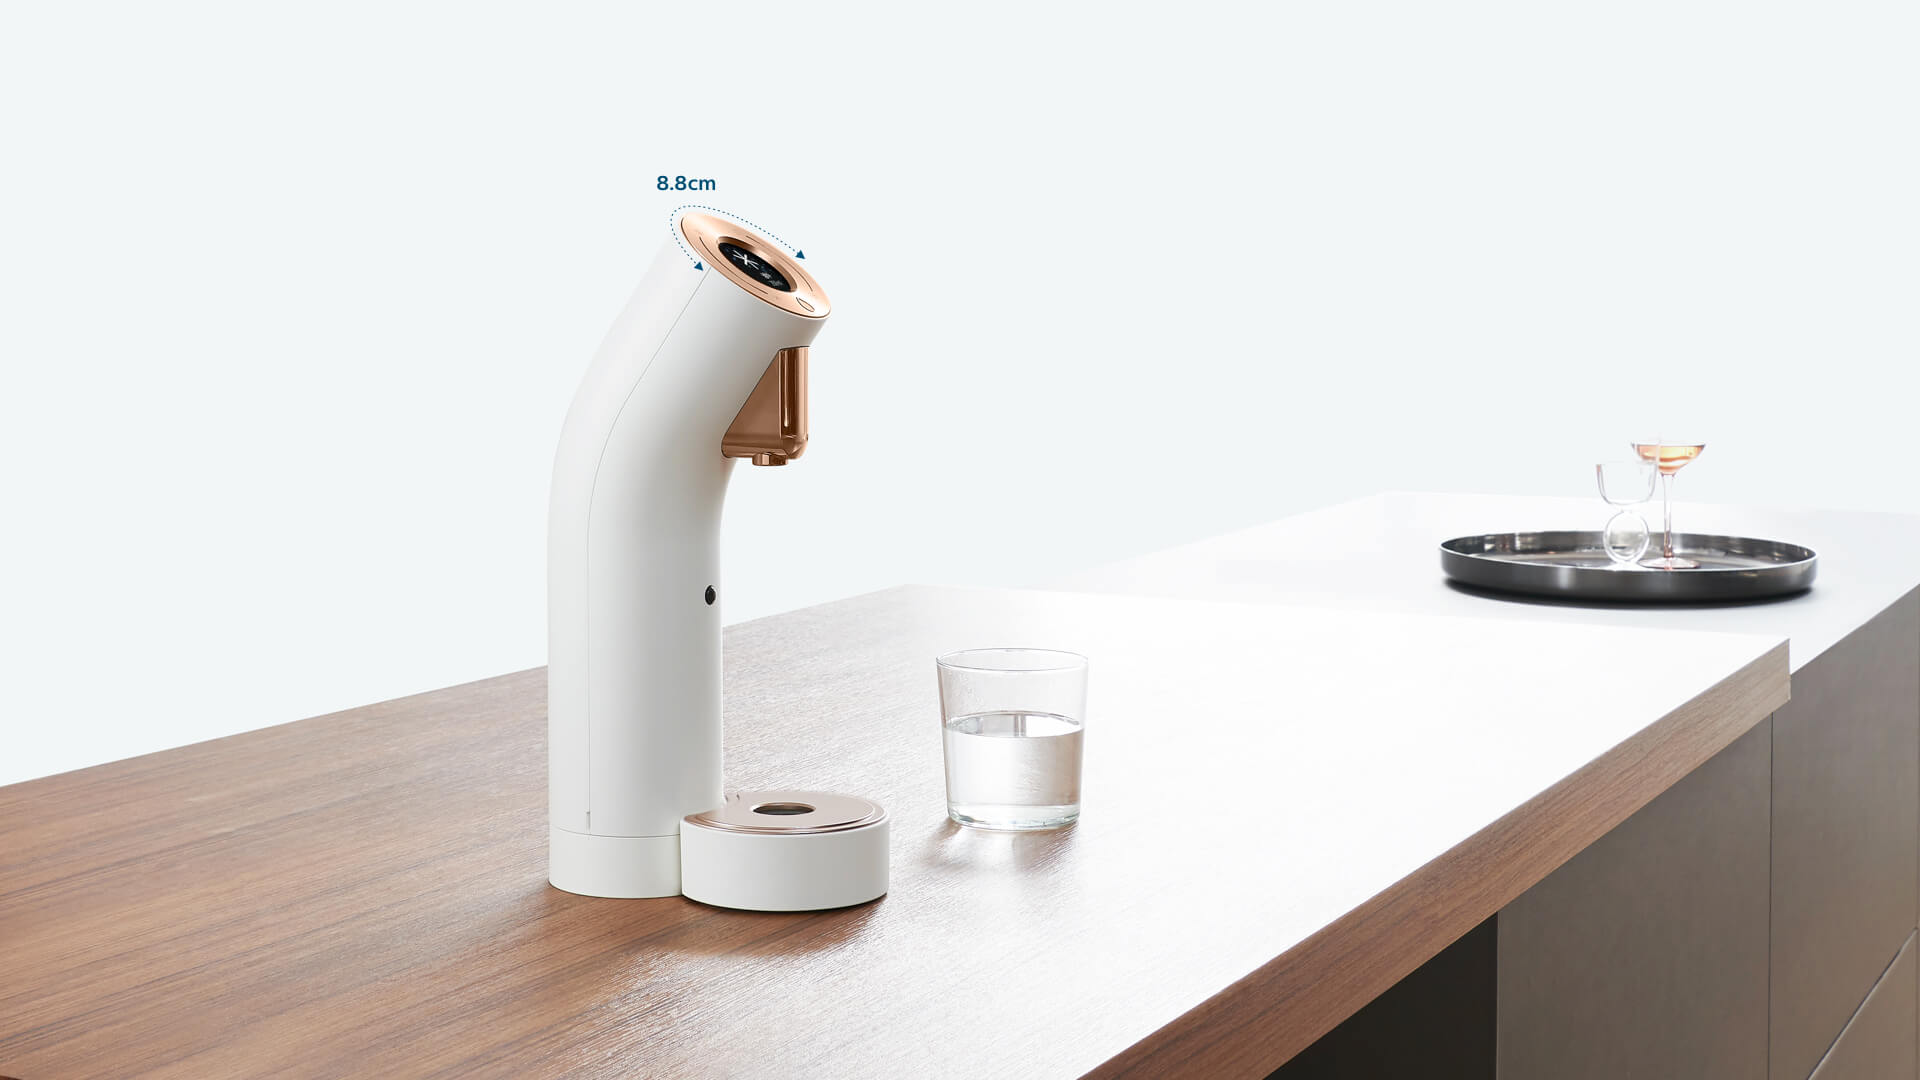
Smart Hygiene Care System
Wells The One features an advanced Smart Hygiene Care System designed to keep your dispenser in pristine condition with minimal effort:
- Self-Sterilizing Every 3 Days: The dispenser automatically sterilizes itself once every three days, ensuring all internal components remain clean and bacteria-free.
- Automatic Draining: If the dispenser isn’t used for 24 hours, it automatically drains the remaining water from all pipes. This prevents stagnation and ensures that the water you dispense is always fresh.
- Super Bio-Tubes: The design of the super bio-tubes ensures that no water forms on their surfaces, making maintenance more hygienic and reducing the risk of contamination.
- Anti-Bacterial H+ Cartridge: The H+ cartridge’s anti-bacterial properties provide an extra layer of cleanliness, ensuring that your water is always safe to drink.
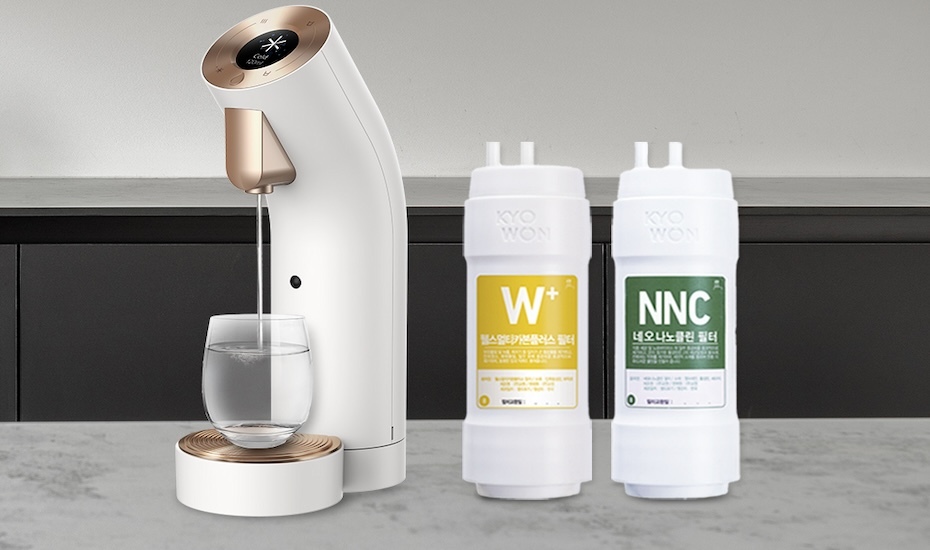
Advanced 9-Step Nanofiltration System
Wells The One utilizes a cutting-edge 9-step Nanofiltration process, including the Wells Multi-Carbon Plus Filter and the Neo Nano Clean Filter, to guarantee the highest water quality:
- Comprehensive Filtration: This advanced filtration system effectively removes impurities, ensuring you always get pure, great-tasting water.
- Filter-Change Indicator: The built-in filter-change indicator on the LCD screen notifies you when the filter needs to be changed, taking the guesswork out of maintenance.
- Annual Filter Change: Unlike other dispensers requiring frequent filter changes, Wells The One’s filters must be replaced once a year, making it incredibly convenient and cost-effective.
Maintain Your Water Dispenser for Optimal Performance
In summary, cleaning and maintaining your water dispenser is key to performance. By following these steps, you get:
- Cleaning prevents dirt, mold, and bacteria build-up, so your water is safe, clean, healthy, and happy.
- Proper care keeps the internal parts running smoothly, so the appliance lasts longer, the water flows better, and clean water is always available.
- Clean parts and sanitized surfaces mean better-tasting water. Regular care means water stays fresh and has no nasty tastes or odors.
So there you have it, a clean water dispenser offers refreshing hydration, promotes health and safety. Now spend some time on regular maintenance and have clean, safe and great-tasting water every day. Cheers to clean water!